What is Charpy Testing?
The Charpy test or notch impact test was developed in 1905 by Georges Charpy to determine the amount of energy absorbed by a material during fracture. He noticed that with decreasing temperature, the tensile and yield strength of steel increases, but ductility decreases, leading to brittle and sometimes catastrophic fractures.
A standard Charpy test is performed by machining a 10mm x 10mm x 55mm test piece with a notch cut at the intended breaking point. The test piece is then brought to the specified temperature, usually in a liquid medium.
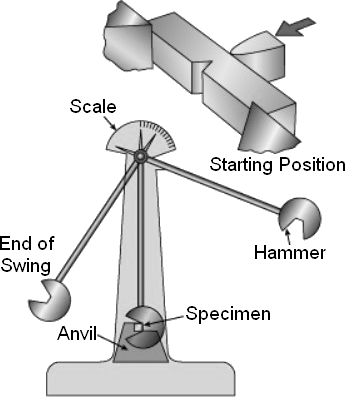
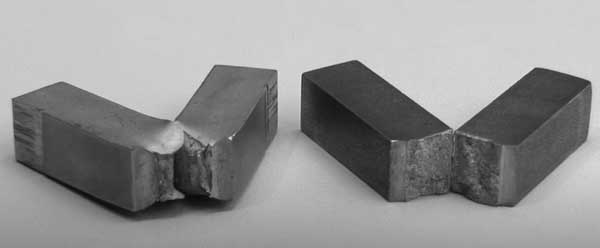
The sample is placed in the setup and a pendulum is set to swing and break the sample at the notch. The testing machine calculates the amount of energy absorbed by the sample by measuring how high the pendulum swings after breaking. The lower the pendulum swings, the more energy was absorbed. A charpy test is actually three separate tests, with the reported result being the average of the three.

Charpy impact tests for bolts may be performed at specific test temperatures. Grades L7 and L43 require testing at -66°C (-150°F) unless otherwise specified. Since passing this test can be challenging, engineers often allow Charpy testing at a temperature more consistent with use temperatures for these fasteners.
When a Charpy test is performed at a temperature other than -66°C, the test temperature must be permanently stamped on the bolt heads or ends of the bolts.
Basic principle and practical procedure of the Charpy impact test
OTHER TESTS OF (HARDNESS)

