What is NDT?
Non-destructive testing (NDT) is a very broad, interdisciplinary field that plays a critical role in ensuring that structural components and systems perform their function in a reliable and cost-effective manner.
NDT technicians and engineers define and conduct tests to detect and characterize material conditions and defects that could otherwise cause aircraft to crash, reactors to fail, trains to derail, pipelines to burst, and a variety of less visible but equally troubling events.
These tests are conducted in a way that does not affect the future utility of the object or material. In other words, NDT allows parts and materials to be inspected and measured without damaging them. Because inspection is possible without interfering with the final use of a product, NDT provides an excellent balance between quality control and cost effectiveness. In general, NDT is applicable to industrial inspections.
The technologies used in NDT are similar to those used in the medical industry, but the inspections involve non-living objects.
What is NDE?
Non-destructive evaluation (NDE) is a term often used interchangeably with NDT.
Technically, however, NDE is used to describe measurements that are more quantitative in nature. For example, an NDE method not only locates a defect, but is also used to measure something about that defect, such as its size, shape and orientation.
NDE can be used to determine material properties, such as fracture toughness, ductility and other physical properties.
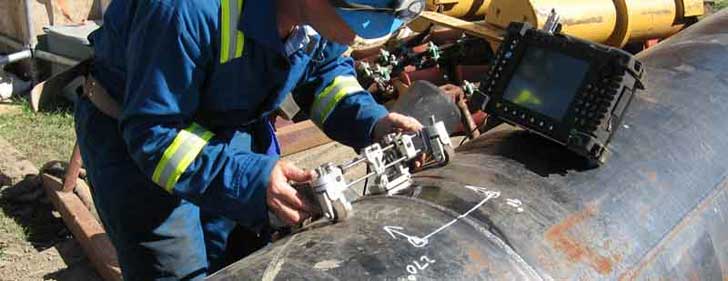
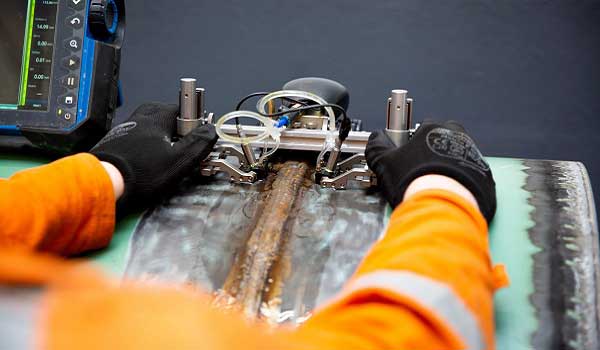
 At a construction site, a technician tests a pipeline weld for defects using an ultrasonic phased array instrument. The scanner, which consists of a frame with magnetic wheels, holds the probe in contact with the pipe by a spring. The wet area is the ultrasonic couplant that allows the sound to pass into the pipe wall.
Some NDT/NDE technologies
Many people are already familiar with some of the technologies used in NDT and NDE from their applications in the medical industry.
Most people have also had X-rays and and many mothers have had ultrasounds used by doctors to check their baby while it was still in the womb.
X-rays and ultrasound are just some of the technologies used in the field of NDT/NDE. The number of inspection methods seems to be growing daily, but a brief summary of the most commonly used methods.
Visual and optical testing (VT)
The most basic NDT method is visual examination. Visual examiners follow procedures that range from simply looking at a component to see if surface imperfections are visible to using computer-controlled camera systems to automatically identify features of a component.
Related Post(s)

Time of flight diffraction is a reliable method of ultrasonic testing that is a highly sensitive and accurate method for non-destructive...

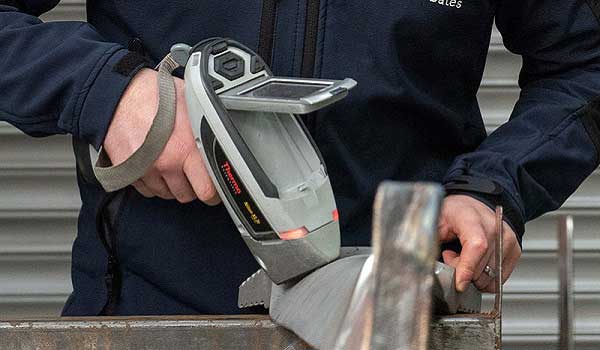
Positive Material Identification is one of the more specialised non destructive testing methods by which the alloy composition of materials...