Eddy Current
Eddy current array (ECA) is a nondestructive testing technology that provides the ability to electronically drive multiple eddy current coils, which are placed side by side in the same probe assembly. Each individual eddy current coil in the probe produces a signal relative to the phase and amplitude of the structure below it. This data is referenced to an encoded position and time and represented graphically as a C-scan image. Most conventional eddy current flaw detection techniques can be reproduced with ECA inspections; however, the remarkable advantages of ECA technology allow improved inspection capabilities and significant time savings.
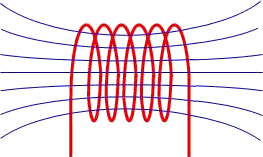
ECA technology includes the following advantages..
- A larger area can be scanned in a single-probe pass, while maintaining a high resolution.
- Less need for complex robotics to move the probe; a simple manual scan is often enough.
- C-scan imaging improves flaw detection and sizing.
- Complex shapes can be inspected using probes customized to the profile of the part being inspected.
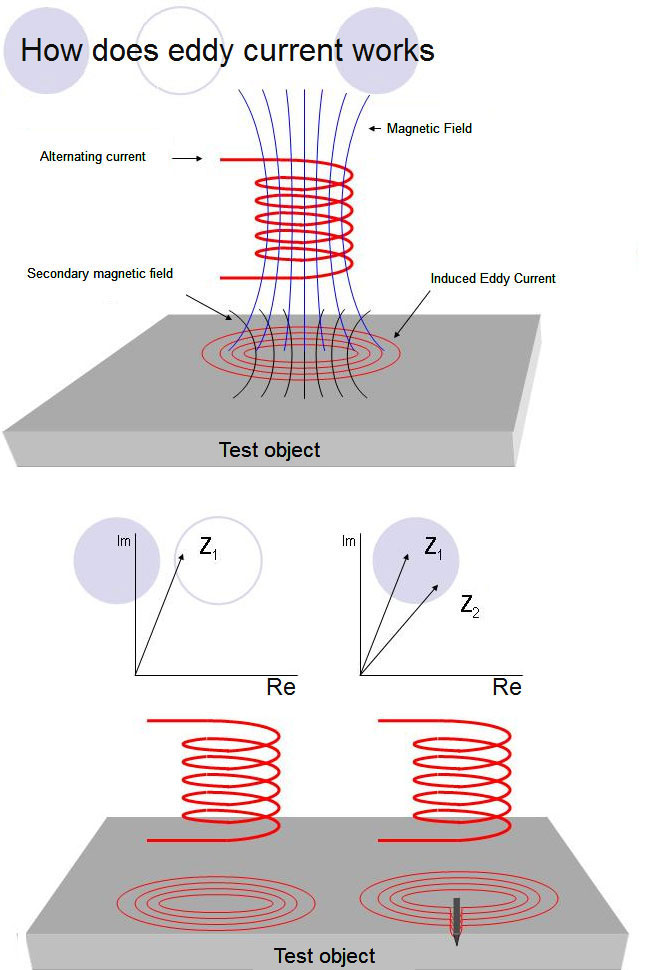
Eddy current (EC) testing is a no contact method for the inspection of metallic parts. Eddy currents are fields of alternating magnetic current that are created when an alternating electric current is passed through one or more coils in a probe assembly. When the probe is linked with the part under inspection, the alternating magnetic field induces eddy currents in the test part. Discontinuities or property variations in the test part change the flow of the eddy current and are detected by the probe in order to make material thickness measurements or to detect defects such as cracks and corrosion.
Over the years, probe technology and data processing have advanced to the point where eddy current testing is recognized as being fast, simple, and accurate. The technology is now widely used in the aerospace, automotive, petrochemical, and power generation industries for the detection of surface or near-surface defects in materials such as aluminum, stainless steel, copper, titanium, brass, Inconel®, and even carbon steel (surface defects only).
History of Eddy Current Testing
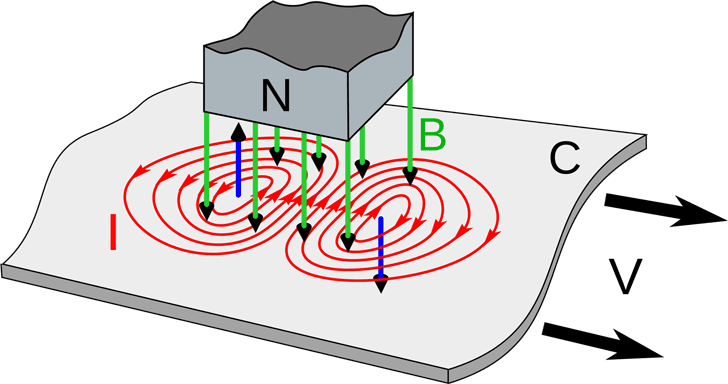
The phenomenon of eddy currents was discovered by French physicist Léon Foucault in 1851, and for this reason eddy currents are sometimes called Foucault currents.
Foucault built a device that used a copper disk moving in a strong magnetic field to show that eddy currents (magnetic fields) are generated when a material moves within an applied magnetic field.
Eddy current testing began largely as a result of the English scientist Michael Faraday's discovery of electromagnetic induction in 1831. Faraday discovered that when a magnetic field passes through a conductor (a material in which electrons move easily)-or when a conductor passes through a magnetic field-an electric current will flow through the conductor if there is a closed path through which the current can circulate.
In 1879, another breakthrough was made when another English scientist, David Hughes, demonstrated how the properties of a coil change when placed in contact with metals of different conductivity and permeability. However, it was not until the Second World War that these developments in the transmitting and receiving of electromagnetic waves were put to practical use for materials testing.
Beginning in 1933, in Germany, while working for the Kaiser-Wilhelm-Institute, Professor Friedrich Förster adapted eddy current technology to industrial use, developing instruments for measuring conductivity and for sorting mixed-up ferrous components. In 1948, Förster founded his own company in Reutlingen, a business based on eddy current testing that continues to this day.
Other companies soon followed. Many advances were made throughout the 1950s and 1960s, especially in the aircraft and nuclear industries. There have been many recent developments in eddy current testing, leading to improved performance and the development of new applications. Eddy current testing is now a widely used and well-understood inspection technique for flaw detection as well as for thickness and conductivity measurements.
Eddy Current inspection by EC-Works
|
EC-Works originates from the oldest branch roots in Germany and is specialised in the NDT-services business. |
EC-Works, the company's name tells it quite shortly, operates eddy current inspections and develops new technologies and applications. The expert knowledge and practical experience of more than 35 years eddy-current services enables them to their unique position in the international NDT-market.
How does Eddy Current works
The drawings below represents schematically how does eddy current works. The coil (red) causes a magnetic field, which initiate eddy current. If a defect appears in the effective area, the eddy current have to take a different way, this changes the impedance of the coil and the operator see the changes on his screen (Z1-Z2).
Eddy current stands for..
high testing speed, no blank surface needed, no danger to the environment, painted surfaces have no influence, no temperature influence, evaluation of crack depth.
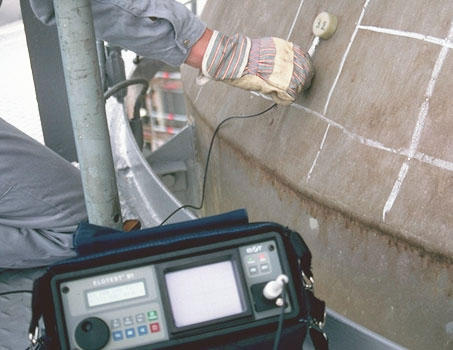
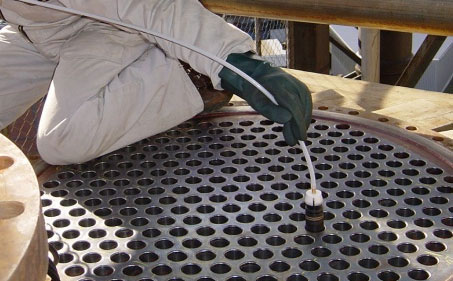
Pipe inspection of Heat Exchangers
Various materials could be checked, like carbon steel, stainless steel, duplex, alloy or other conductive materials.
The drawing below represents schematically the defect detection by eddy current. The two coils (red) were pulled over the defect and the typical signal appeared on the screen. The inner and outer defects have different signals depending on their deepness. This gives the operator the opportunity to decide what kind of defect is in the tube.
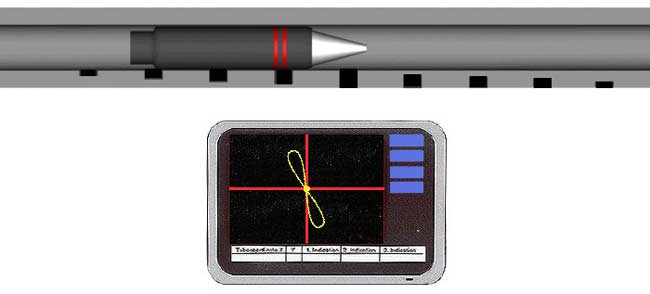
Eddy current testing is always a comparative measurement, therefore EC-Works need..
• Inspection task based calibration pieces
• Inspection task designed probes
And very important..
• Eddy Current is not a leak-test system
Surface Crack inspection
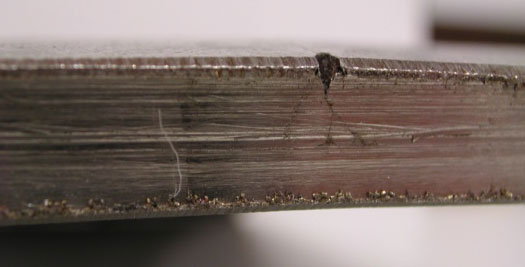
The cracks below could be found by eddy current. Special probes allow to detect inside cracks from outside, depending on the material and wall thickness. Even microcracks in Formula 1 Valves are detected with eddy current by EC-Works.
Andreas, Sven, Frank.. Thanks for the pleasant cooperation
Benefits of Eddy Current Testing
Eddy current offers the following capabilities..
Quick, simple, and reliable inspection technique to detect surface and near-surface defects in conductive material Can be used to measure material electrical conductivity Measurement of nonconductive coating Hole inspection with the use of high-speed rotating scanner and surface probe
Benefits of Eddy Current Array Testing
Compared to single-channel eddy current technology, eddy current array technology provides the following benefits.. Drastically reduces inspection time. Covers a large area in one single pass. Reduces the complexity of mechanical and robotic scanning systems. Provides real-time cartography of the inspected region, facilitating data interpretation. Is well suited for complex part geometries. Improves reliability and probability of detection (POD).
Reference(s) .. www.olympus-ims.com / www.ecworks.de
Related Post(s)
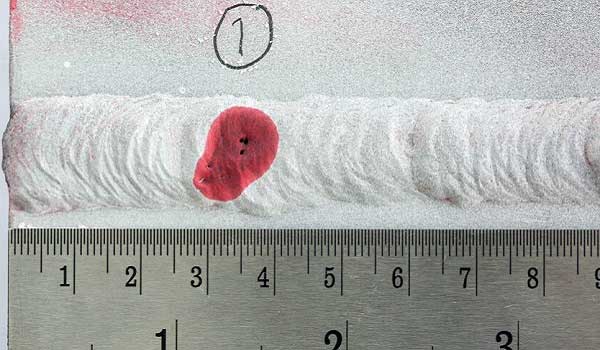
Dye Penetrant Inspection is one of the oldest and simplists NDT methods where its earliest versions dates back to the 19th century.
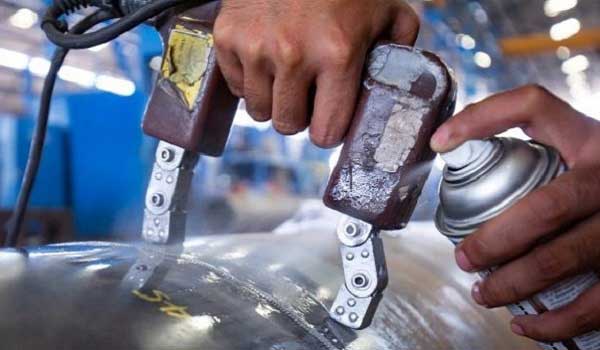
Magnetic particle inspection is a nondestructive inspection method that provides detection of linear flaws located at or near the surface...
